
Creating a community:

- Open the latest version of your Namola app
- Tap on the "Safety News Feed" which is the second icon from the left
- Tap the Settings icon in the top right-hand corner
- Tap "Create Community"
Types of Communities
There are three different types of communities that you can form - Neighbourhood Watch, Public Broadcast group or Company Broadcast (read more here on the difference between the three).
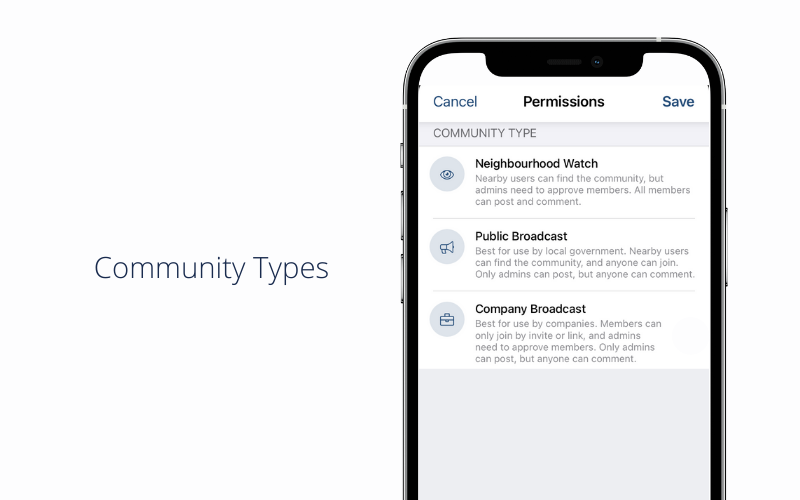
Tip: Keep your Neighbourhood Watch Communities small (i.e. a couple of street blocks) and rather create a Public Broadcast community for a broader area. this keeps events relevant for community members.
Once you have decided which community you would like to form follow these steps:
- Give it a meaningful name.This name will be seen by all of your members
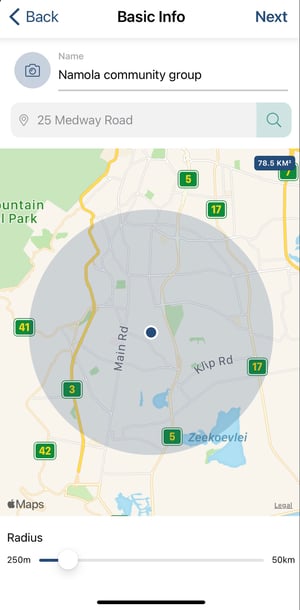
- Check the location and coverage radius
-png.png)
- Tap “Next”
Spreading the word
- Open Namola
- Go to Newsfeed and tap the Settings button in the top right
- Tap on your Community’s name
- Tap on “Share” (near the bottom of the options)
- Choose "Share Link”
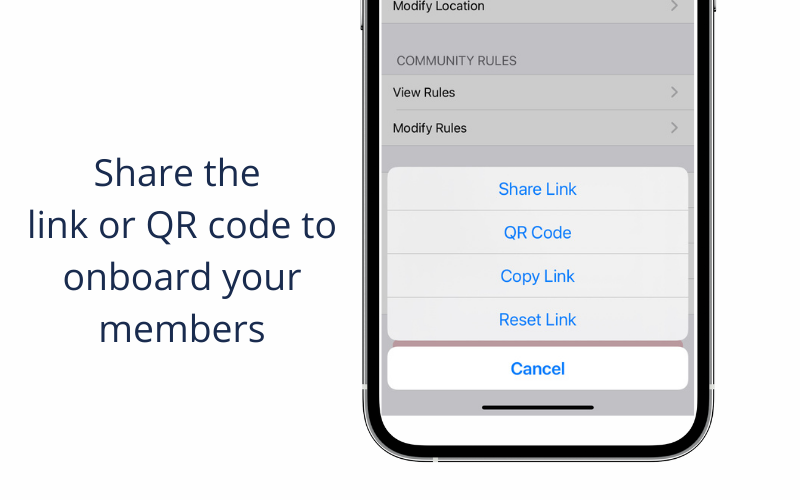
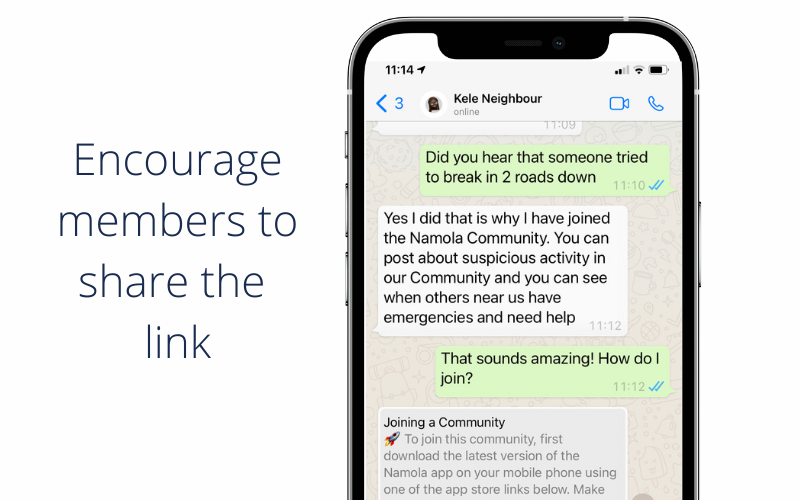
Namola Tip: Share that link to relevant community members via WhatsApp, Facebook groups or your monthly newsletter
Approving members for your community
-png.png)
-png.png)
Suggested set up of communities:
Our communities functionality is quite flexible, allowing you to set up your community in whatever way works best for you.
The following are the major options:
Admins can edit these settings by:
- Tapping on Newsfeed
- Tapping on Settings
- Tapping on your community name
- Tapping on Modify permissions
NOTE: 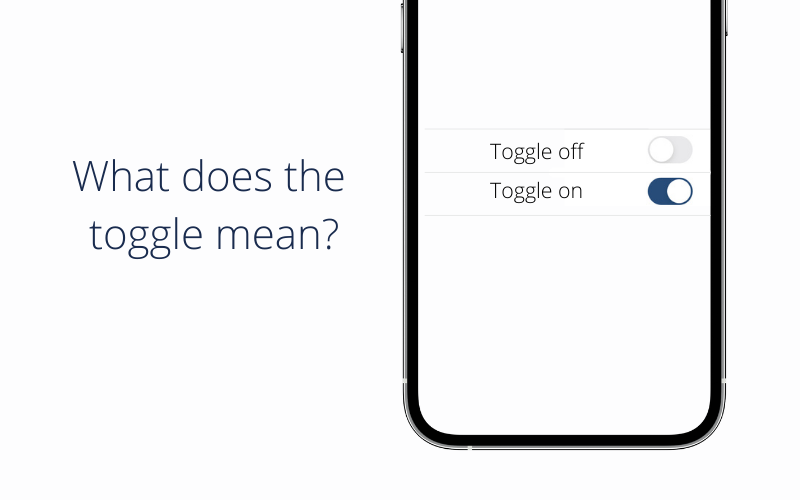
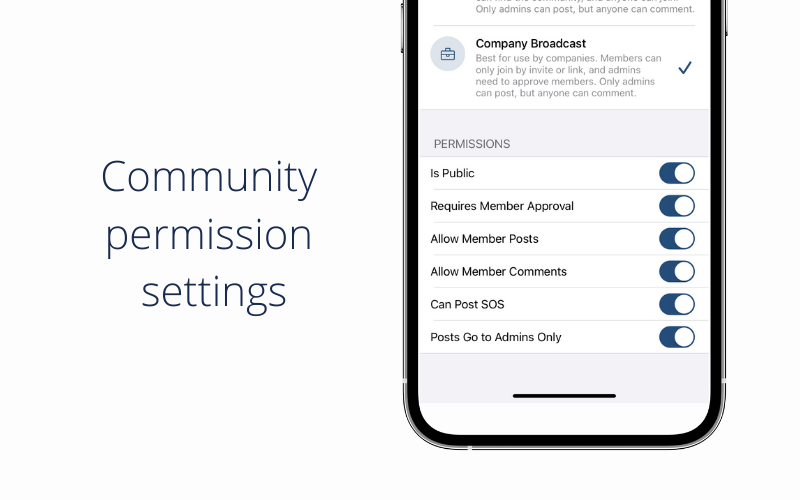
Community permission settings
- Is Public
This means that your community will be discoverable by other Namola users. If you want your community to stay private, toggle off. If you want Namola users in your area to be able to find you, toggle on.
- Requires Member Approval
Safety Tip: We strongly suggest that for closed communities like NHW’s, this remains enabled
Admins will need to approve new members first before they can participate in the community. (If it’s not selected, anyone who has a link for the community will automatically become a member as soon as they’ve indicated they want to join.)
Note to admins: Please check membership requests on a frequent basis to avoid unhappy members and membership piling up
- Allow Member Posts
Allow members to make posts. If this toggle is off, only admins can post.
-
- Namola's recommendation is to switch this on this for most closed communities. (When it’s not selected, the community essentially only acts like a broadcast mechanism.)
- Allow Member Comments
Allow members to comment on posts and SOS’s. If not selected, only admins can comment.
-
- Namola's recommendation: selected.
- Can Post a members SOS
When this is on it means that a member's SOS’s will be posted to the community when they have an emergency. If it is off (i.e. not selected), the SOS doesn’t go to the community (only to Namola and user’s contacts).
-
- Namola's recommendation: selected.
- Posts Go To Admins Only
If this is switched on Posts and SOS’s from members (if they’re allowed), will only go to the ADMINS’ newsfeeds, not the whole membership. This is to allow regular community members to report things to the patrollers (the admins), without cluttering up everybody’s feeds and notifications.
-
- Namola's recommendation: Not enabled for most communities.
Tip: We recommend that Neighbourhood Watch communities keep the default settings (i.e. everything enabled except “posts go to admins only”.) If you want to be a super-closed group that’s strictly by invite-only, deselect the “Is Public” setting.